Excel 2007 Issues
Security Alert Messages in Excel 2007
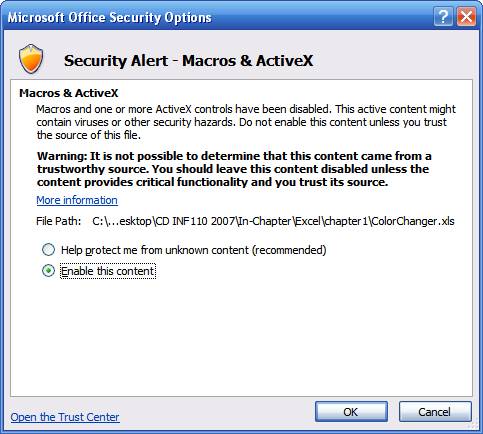
When running an Excel file with VBA code a Security Alert may be displayed.
Click on the Security Alert icon and set Enable the
content option button as
displayed in the screen-shot listed below, then click the OK
button.
Changing Security Settings Excel 2007
To be able to use the VBA code built into Excel you need to change the
Security settings inside of Excel 2007.
Use the steps listed below to enable the VBA coding capabilities inside Excel
2007.
Click on the Office Button in top left-corner of screen, see screen-shot listed below.
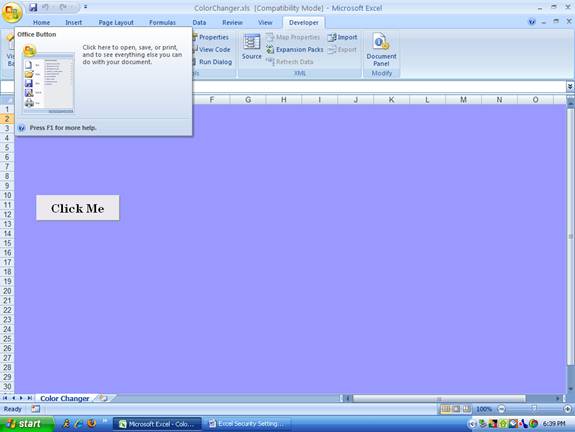
The following screen will be displayed.
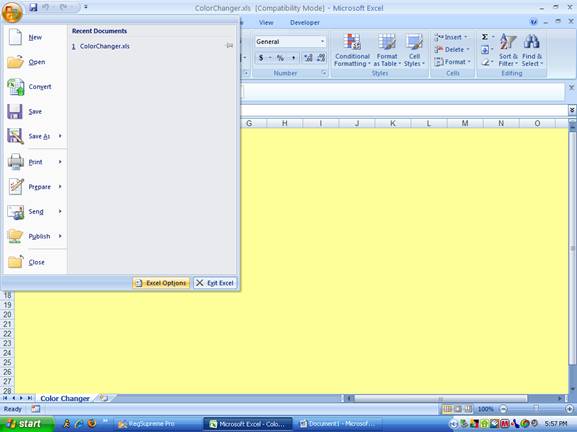
Click on the Excel Options command button at the bottom. The following screen-shot will be displayed.

Click on the Trust Center option on the left. The following screen-shot will appear.
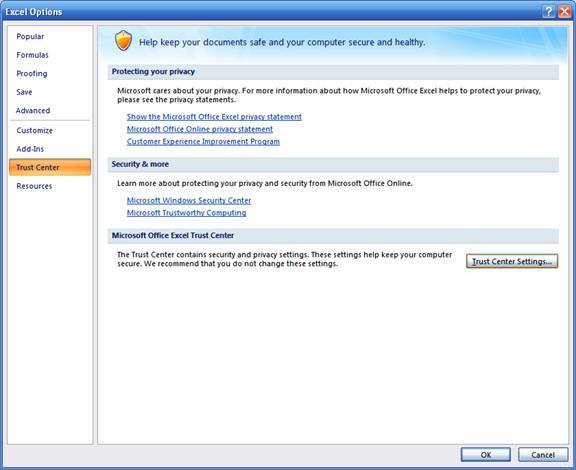
Click on the Trust Center Settings... command button. The following screen-shot will appear.
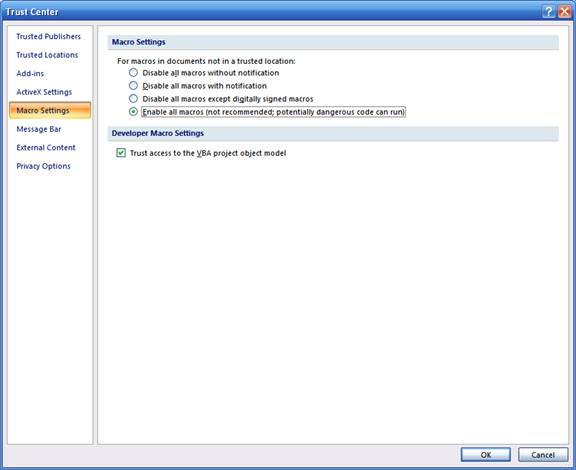
Click on the Macro Settings option on the left. Set the
option button and check box as indicated
above, then click the OK button twice.
Recording Macros in Excel 2007
Click on the Record Macro button on the ribbon while in design
mode, you will be prompted
to give the macro a name. Now perform some task in Excel like
saving a file in Excel 97-2003
format. See screen-shot below.
Click on the Stop Recording button on the ribbon while in design mode. See screen-shot below.

To see the recorded macro code. Click on the Macros button on the
ribbon while in design mode.
See screen-shot below.
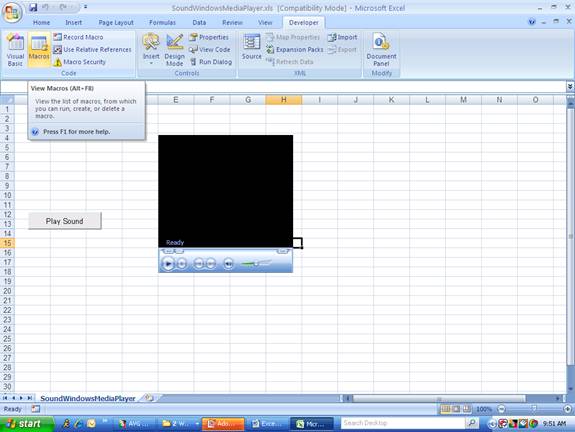
A screen-shot similar to the one listed below will appear.
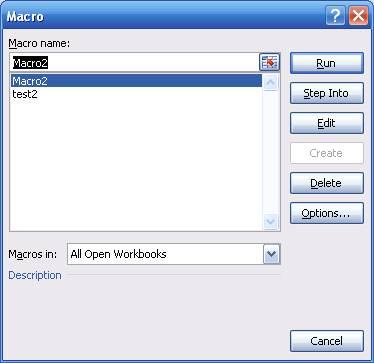
Select a macro name from the list and then click the
Edit button, a screen-shot
similar to the one listed below will appear.
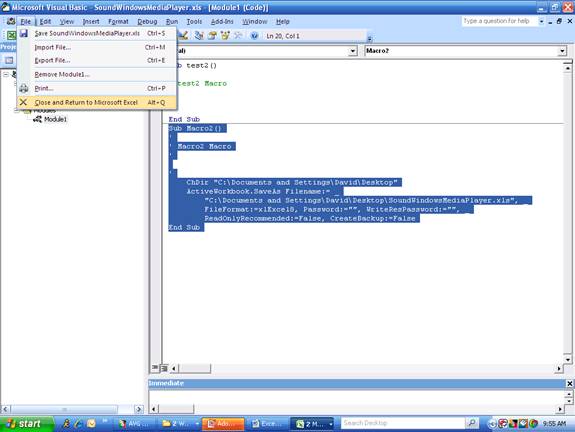
Click on the Close and Return to Microsoft Excel on the File
menu to return to the worksheet
See screen-shot listed above.
(Design Mode) adding Controls, and Properties in Excel 2007
Note: You must be in Design Mode in Excel 2007 to be able to add
controls to the Worksheet.
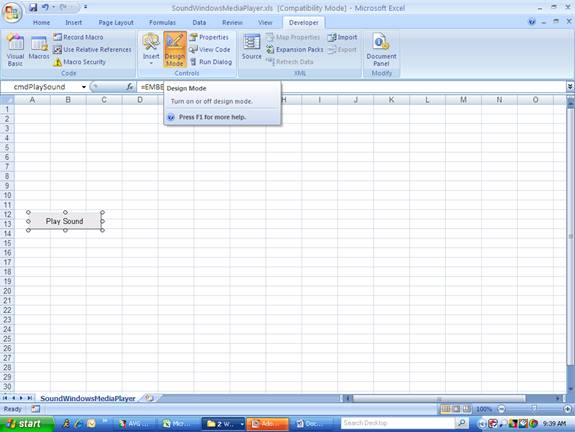
Click on the Design Mode button on the ribbon. This button is a
toggle button, which means that
you click on the button to turn the feature on and off. Use design mode to
create your controls
and Run mode (button off) to test the code behind the controls.
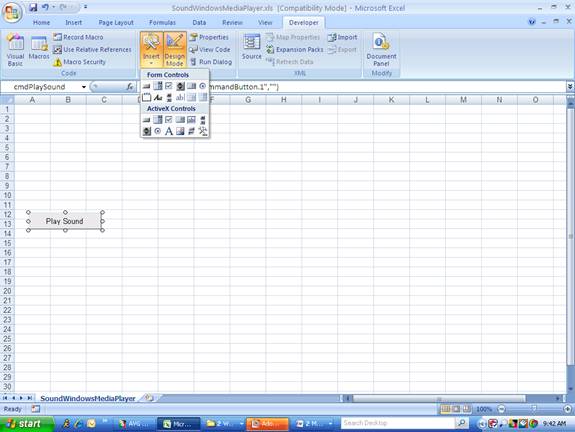
(Note: sizing handles surround the controls when in design mode as shown in the
screen-shot below)
To put controls on the worksheet in design mode click the Insert
button (hammer and wrench icon)
on the ribbon to display the control toolbox. Click on a
control icon in the toolbox (like a label)
and then drag with the mouse on the worksheet to size the control. See
screen-shot below.
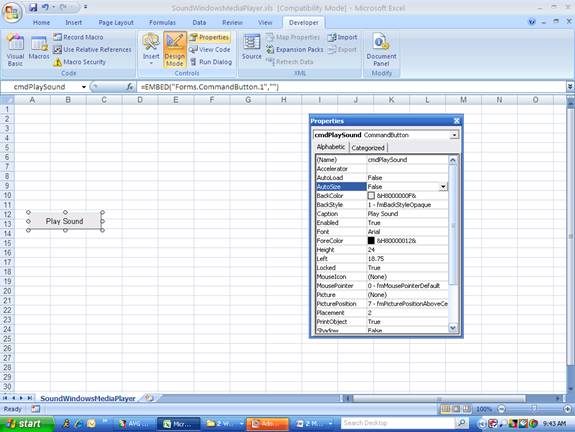
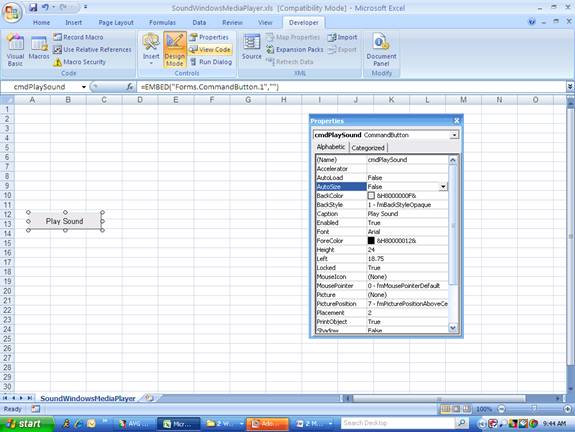
To see the properties of a control, click on the
control and click the Properties button on the
ribbon. (You can also right-click on the control and choose
Properties on the short-cut menu.)
See screen-shot below.
The following shows how to get to the code window from the Excel 2007
interface.
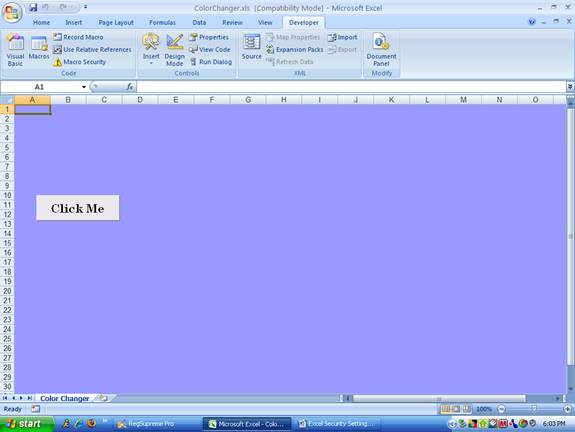
Start by clicking on the Developer menu as indicated in the
screen-shot listed below.

The following developer ribbon will appear, putting all the tools at your
fingertips. See screen-
shot listed below..
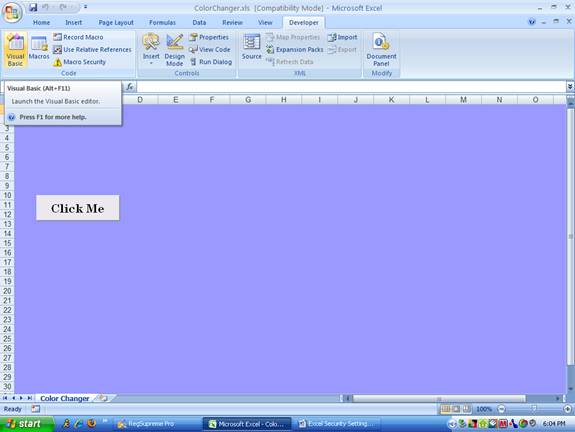
Select the Visual Basic icon on left-side of the ribbon as
shown in the screen shot listed below.
(Note: You can also still use the Alt-F11 keys to get to the code
window)
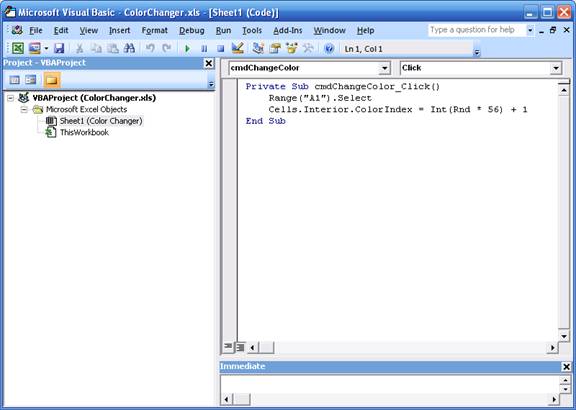
The following code window will appear as indicated by the screen-shot listed below.
 b
b
Note you can also display the code window by clicking on the View
Code button as demonstrated
on the screen-shot listed below.
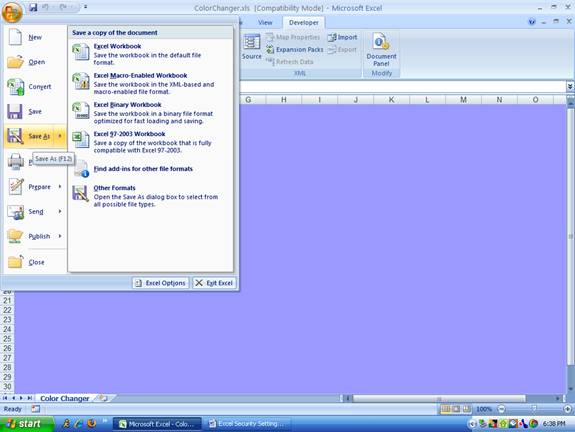
Saving Files in Excel 2007 to Excel 97-2003 format
Online students should
convert their Excel 2007 files to Excel 97-2003 format before
submitting their work electronically on Blackboard by
using the steps
outlined below.
Note: All students
should convert their files to this format if you want me to look at your work in
my office or as an email
attachment.
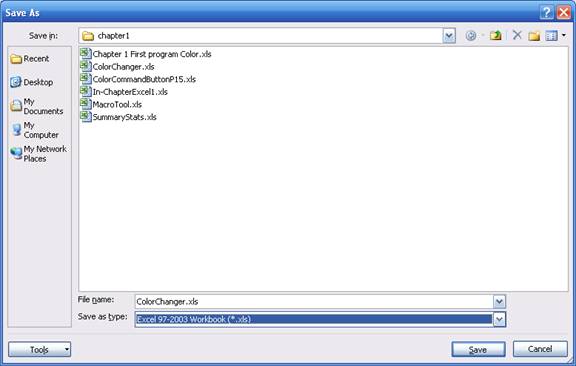
Click on the Office Button in top left-corner of screen, then
select Save As on the drop-down menu
see screen-shot
listed below.
Click on the drop-down arrow on the Save as type drop-down
list box and choose
Excel 97-2003 Workbook (*.xls) from the list and then click the
Save button.
See screen-shot
listed below.