INF 110 Challenges Chapter 6 Excel  VBA Programming

Challenges Chapter # 6          Excel 2007 User Instructions

                                     Excel 2010 & 2013 User Instructions

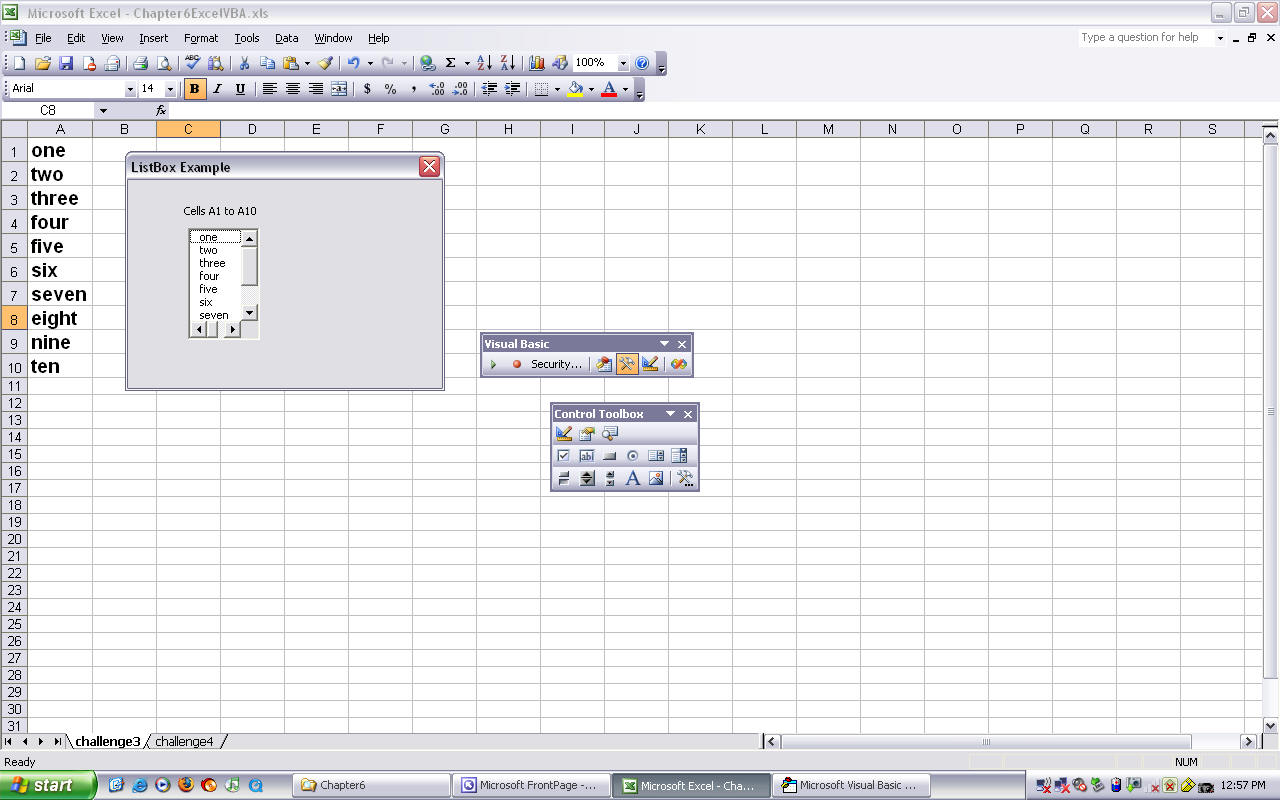
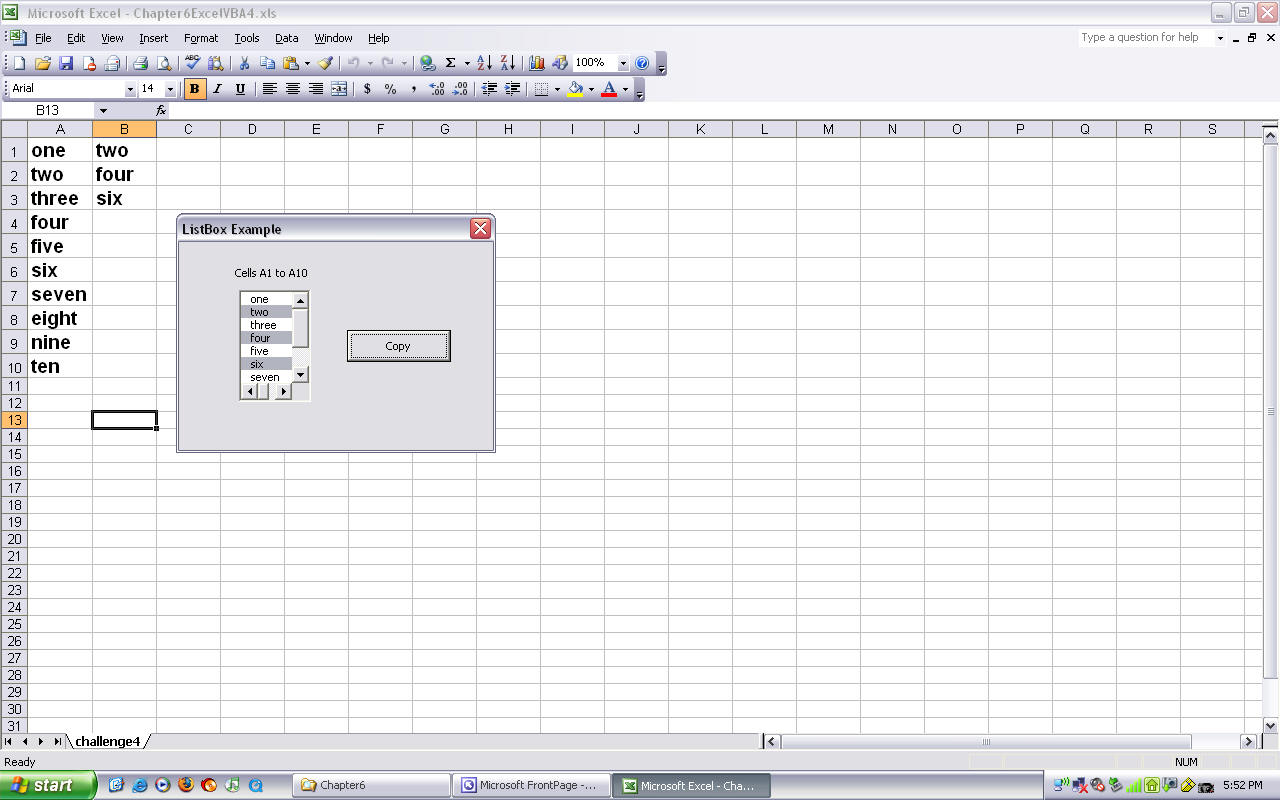
Challenges 3-4 Page 274 Excel VBA Programming Textbook

General Guidelines:
Create a separate .xlsm workbook file for challenges 3 and 4, one for each of the challenge questions.
Copy
challengesChapter6Excel3LastName.xlsm to challengesChapter6Excel4LastName.xlsm to create the workbook for challenge 4, it will make answering the questions a lot easier.
Do steps 3 & 4 to produce two .xlsm files named
challengesChapter6Excel3LastName.xlsm and challengesChapter6Excel4LastName.xlsm.

Flowchart: Be sure to create a flowchart for challenge 4 on page 274 by using the PowerPoint shapes symbols. Use slide 38 in Excel 4 PowerPoint to use the Loop symbols for the UserForm_Activate event routine and the loop symbols with the decision symbol for the cmdCopy_Click event routine. Save the flowchart slides in a PowerPoint file named FlowchartsChallengesChapter6ExcelLastName.pptx. Send me this file as an email attachment at least 3 days before the assignment is due so that I can check it for you. Submit this file in Blackboard together with your Excel workbook files.

Hints and corrections:

  1. In step 3 on page 274, type in the names one - ten, in cells A1-A10 , use code in the Form_Activate event to set Font.Size to 14 and Font.Bold to True in Cells A1:A10. Since no active-X controls are mentioned in the instructions the code to show the UserForm must be placed in SelectionChange event of the Worksheet. Remember to use ALT-F11 keys to get to Excel's code window. See page 176 in book to set up ranges, and see an example of For-Each statement. Use the screen shot listed below as guideline.

  1. In step 4 on page 274, remember the index of a ListBox starts with zero. To be able to select multiple items in the ListBox you need to change the MultiSelect property to 1 in the Property window. Remember to use ALT-F11 keys to get to Excel's code window. Clear the first 10 rows in column B in the Activate event of the UserForm to clear the output area of spreadsheet before presenting the form. Use With-End With statements in code to set Font.Size to 14 and Font.Bold to True in Cells B1:B10

    Hint: Use the Index for the subscript for the Selected and List properties of the ListBox to get them to work properly.
    Example: lstListBox.Selected(intIndex) and lstListBox.List(intIndex)

    Hints for the Copy command button code: Use a For -Next loop to go through each item of the list box to see if it were selected. Remember a list box is zero-based. Use the lstListBox.ListCount property of the list to end the For-Next loop. (lstListBox.ListCount - 1) Within the For-Next loop use an If statement to see whether an item in the list is selected using the lstListBox.Selected(intIndex) property which is of Boolean data type. If a list value is selected increment a counter (intCounter) to keep track of how many items were selected and put in a statement to display the selected list value to a row in column B of the spreadsheet. Use this counter in the cells object row number to display the selected item in the list to column B of the spreadsheet.
    example: Cells(intCounter,"B").Value = lstListBox.List(intIndex)

    See the pseudocode listed below: (These statements can be used as comments in your code)

    Loop thru the ten items in the list
        Check if an item in the list is selected If Yes then
            increment a counter
            display the selected item from the list in the counter number row of column B of the spreadsheet
        End the Check or Select structure
    End the Loop structure

    P.S. Convert the pseudocode listed above to For-Next and If-End If looping and select coding structures.

    Sample outputs (challenge4) Use the screen shot listed below as guideline.


Students should submit the electronic versions of the four files using the drop box in Blackboard, send the  PowerPoint file with the flowcharts for the challenges named (FlowchartsChallengesChapter6ExcelLastName.pptx), send the two challenges workbooks named (challengesChapter6Excel3LastName and challengesChapter6Excel4LastName.xlsm), together with the In-Chapter work from this chapter (In-ChapterExcel6LastName.xlsm), each spreadsheet in the In-Chapter Excel workbook should use the following names (HelloUserFormp219, ModalModelessFormsp221, ScrollBarsp224, LoadingAListBox), reflecting the page in the text from which the work comes.
Substitute your last name for LastName listed in file names above.

Note: Steps to submit your work: Submit the four files by clicking on the Assignments link in the left pane then click Exer6 link in the right pane. Choose the challengesChapter6Excel3LastName. xlsm workbook, add another file named
challengesChapter6Excel4LastName. xlsm, add another file named
FlowchartsChallengesChapter6ExcelLastName.pptx, then click Submit.
Note: The Flowcharts and the two Challenges workbooks are all submitted under the Exer6 link.

Next click on the InChap5 link. Choose the In-ChapterExcel6LastName.xlsm workbook, then click Submit.

Please remember to put comments in the top of the code for the challenges see slide 10 in Excel1 PowerPoint slide for example.